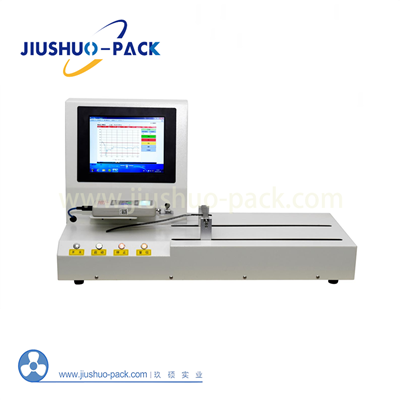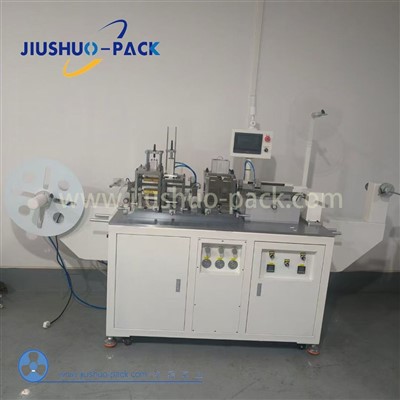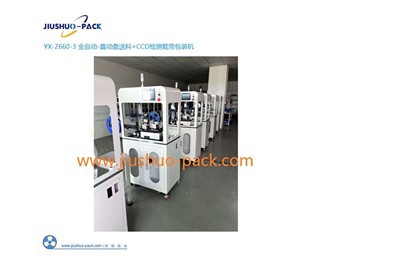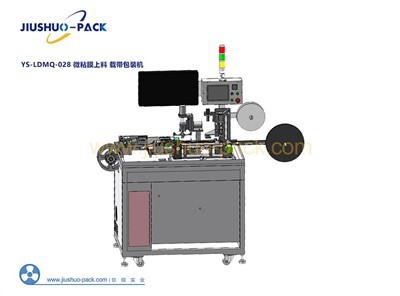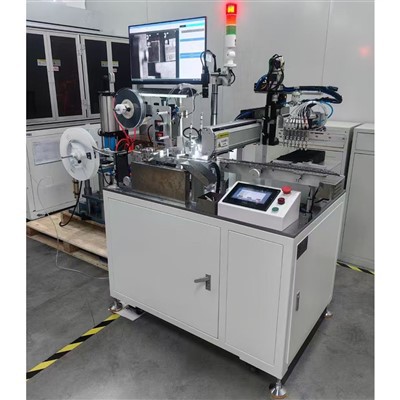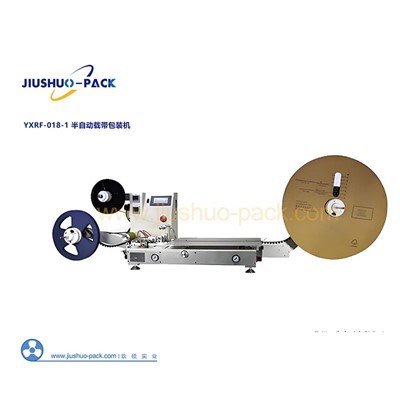

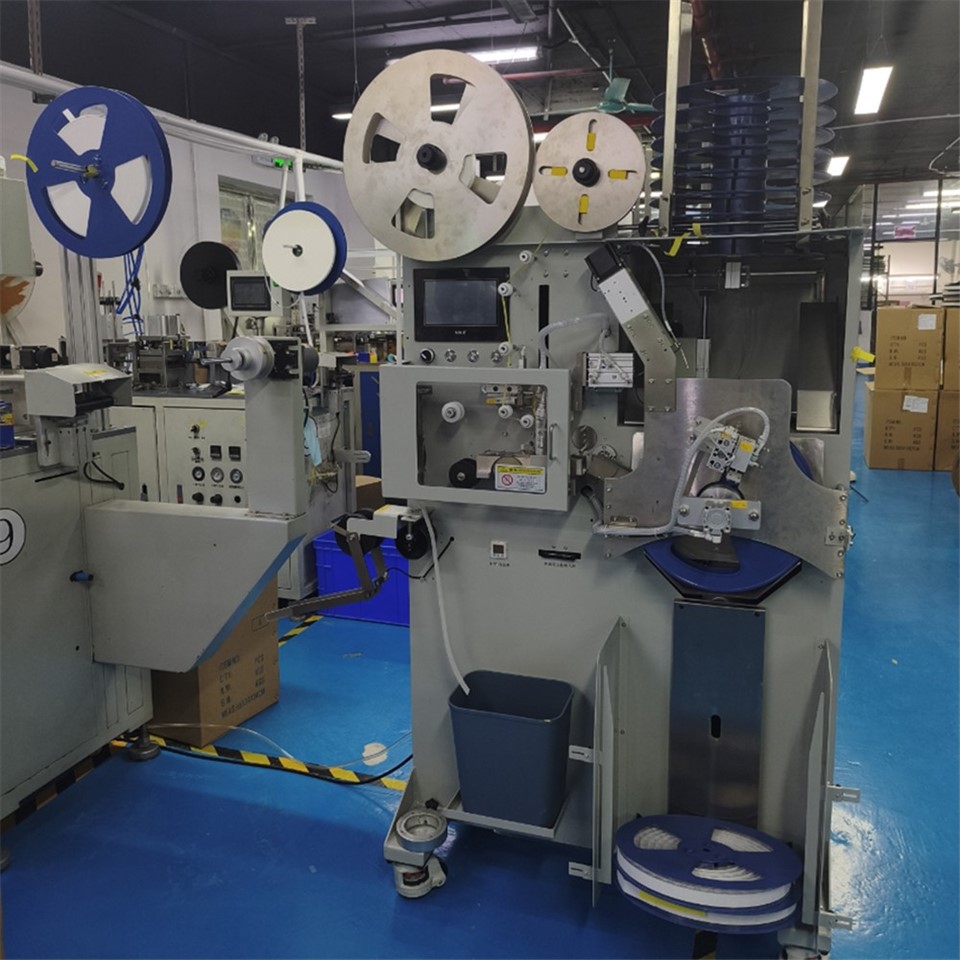
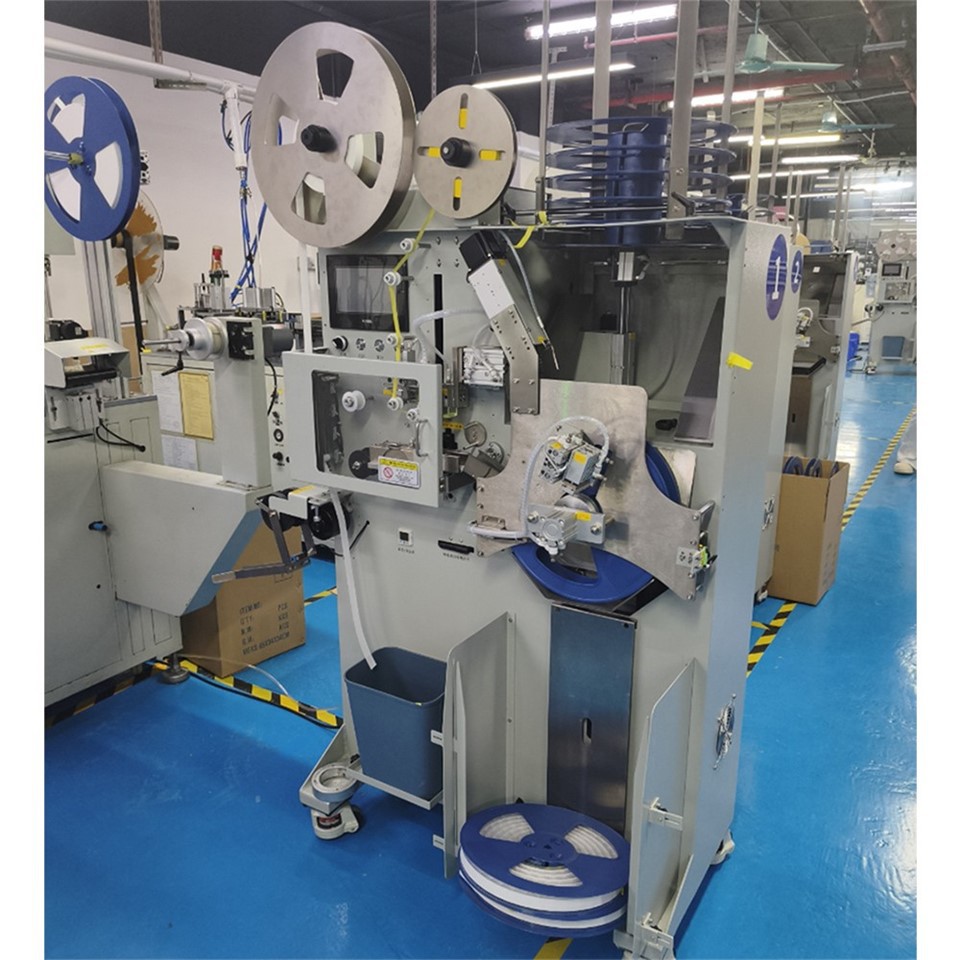
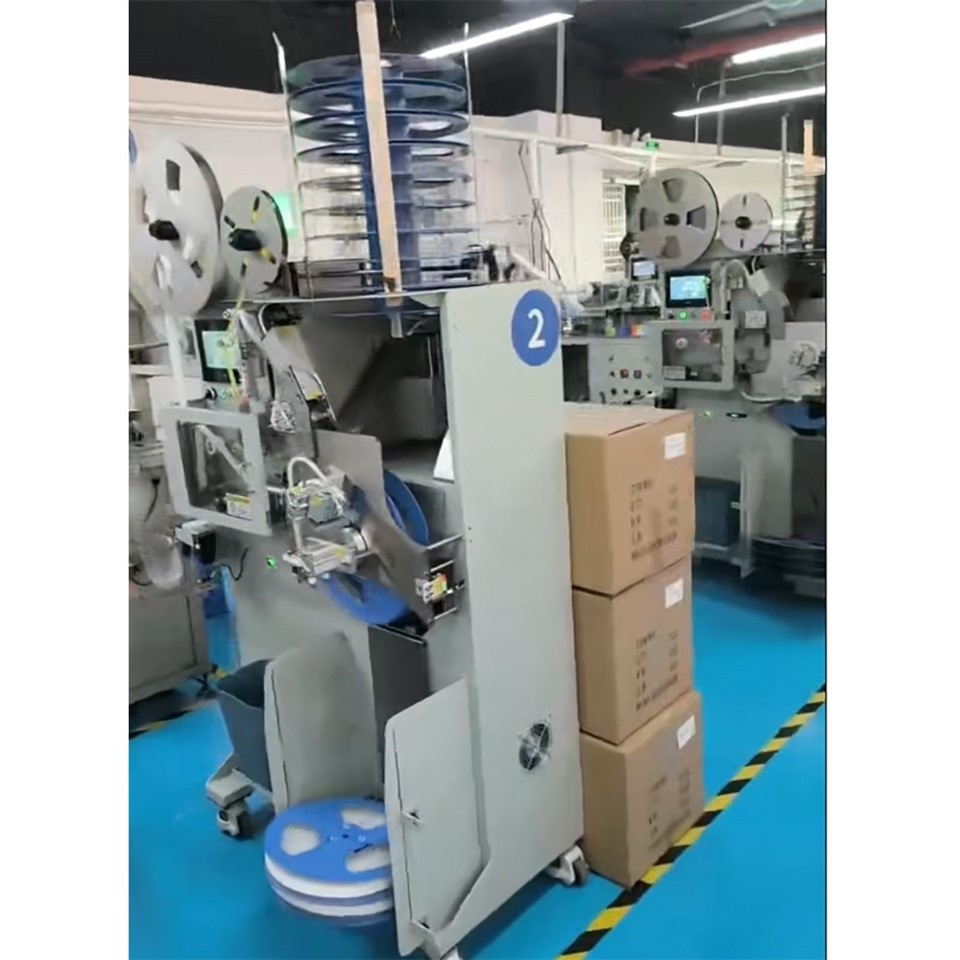
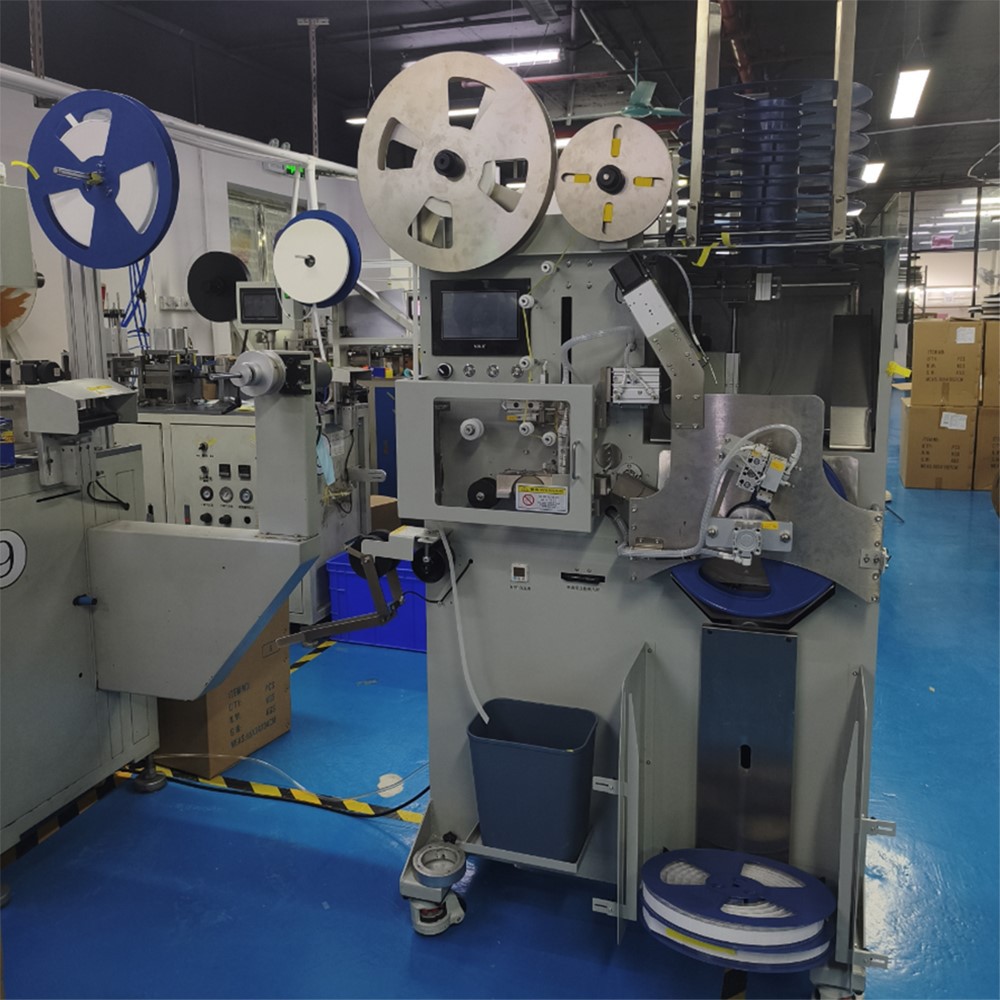
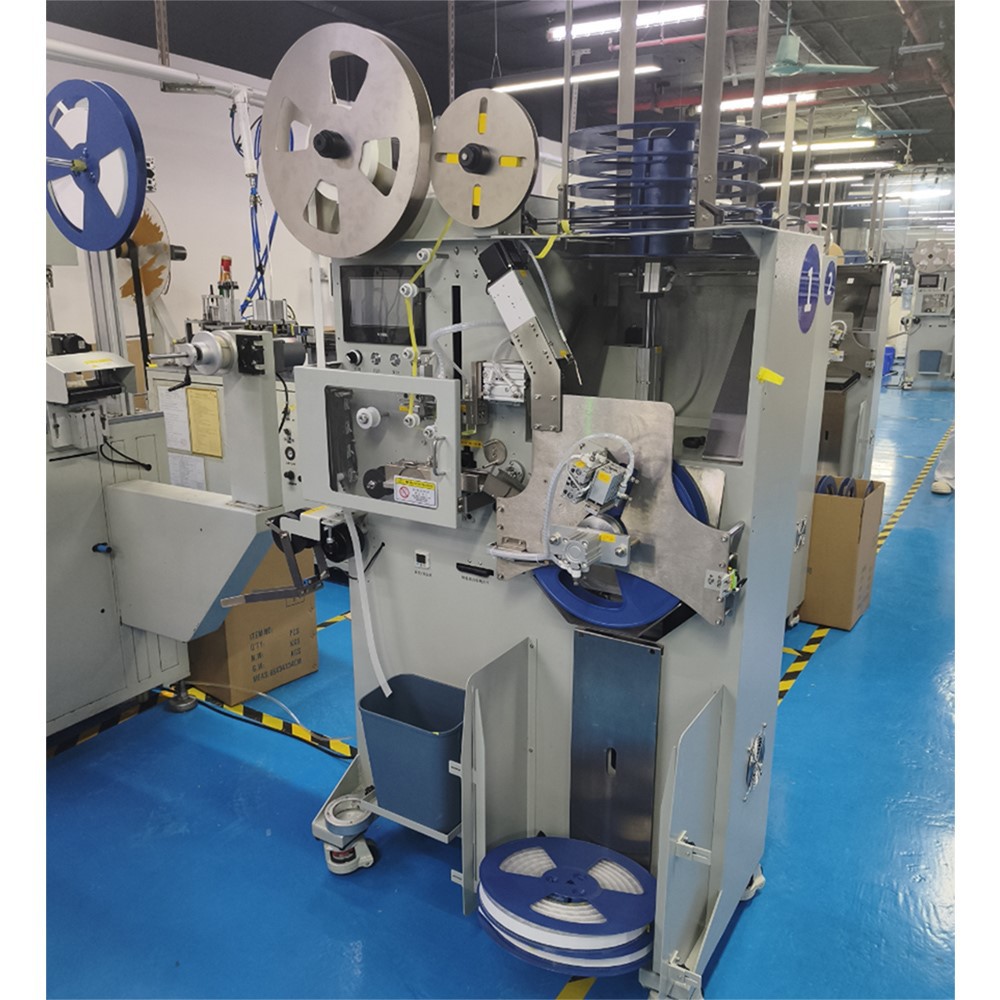
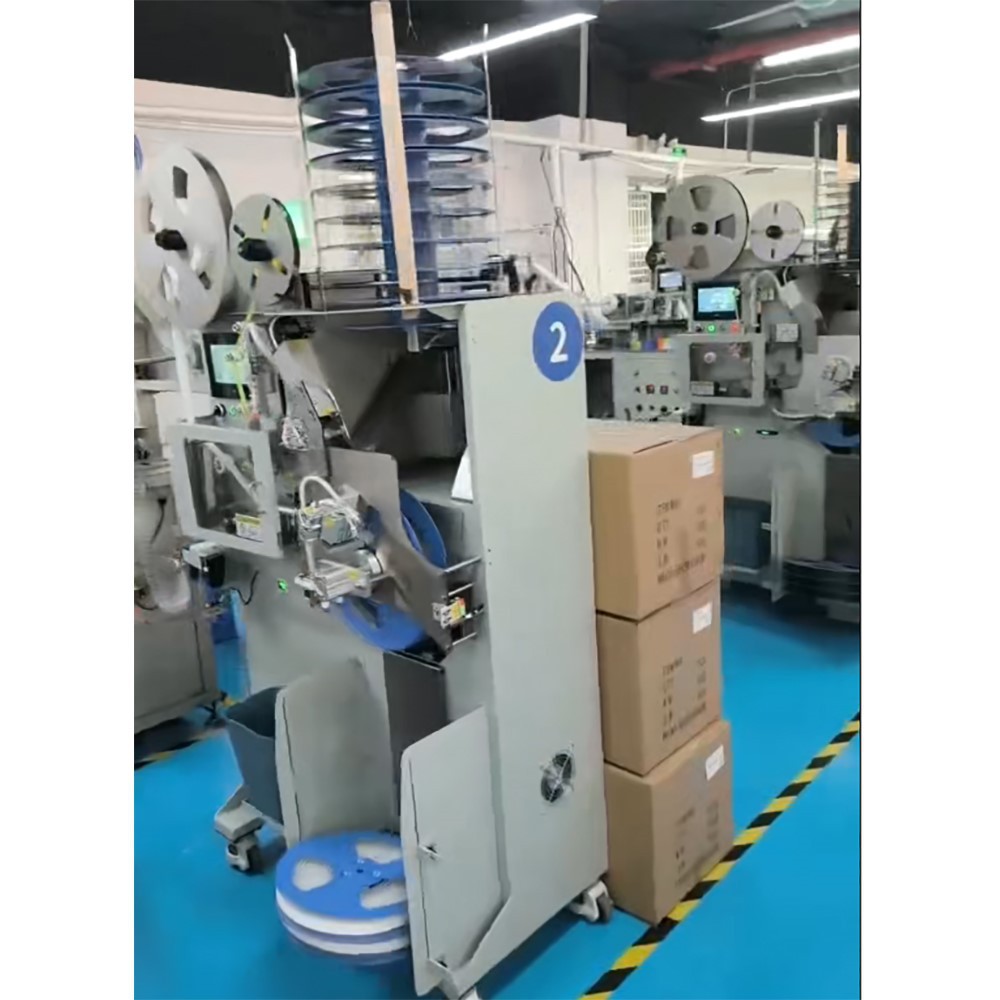
Equipment Appearance
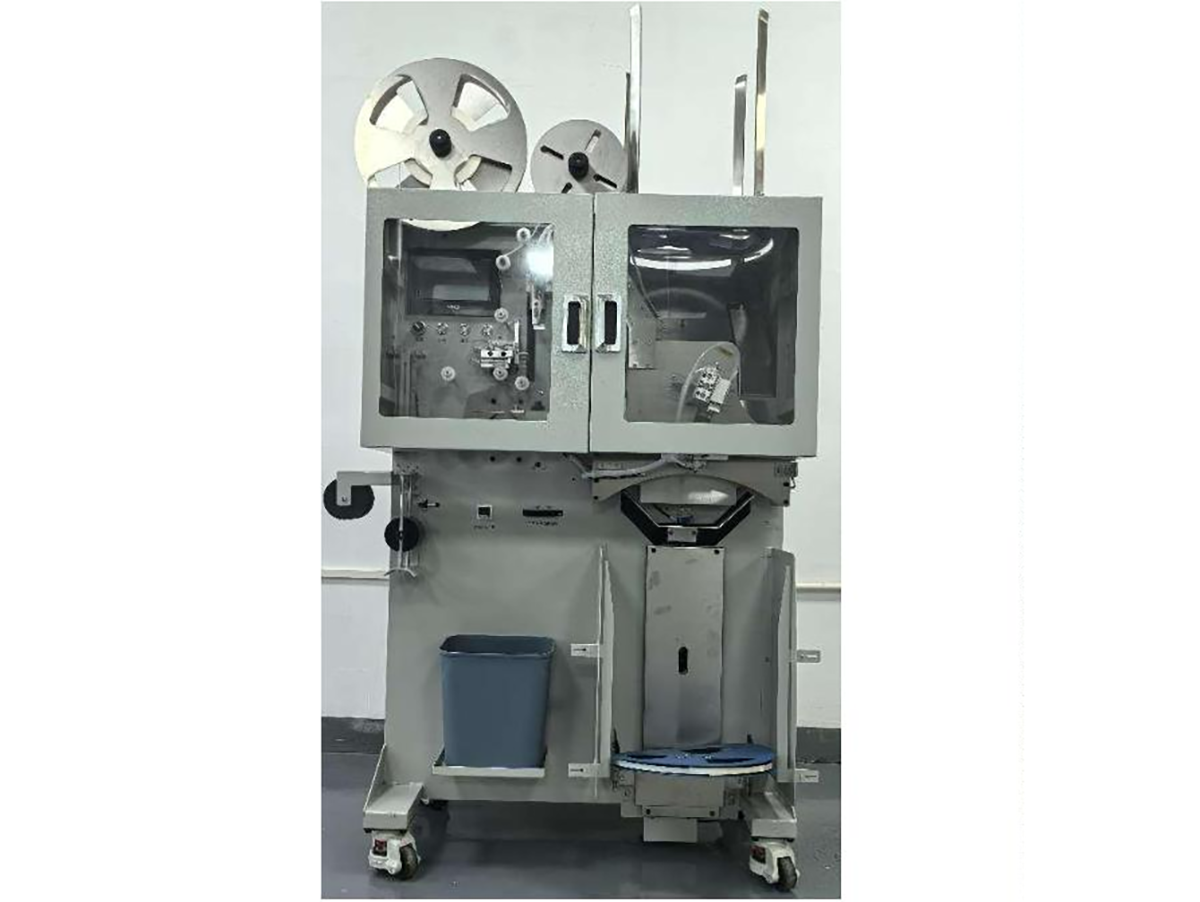
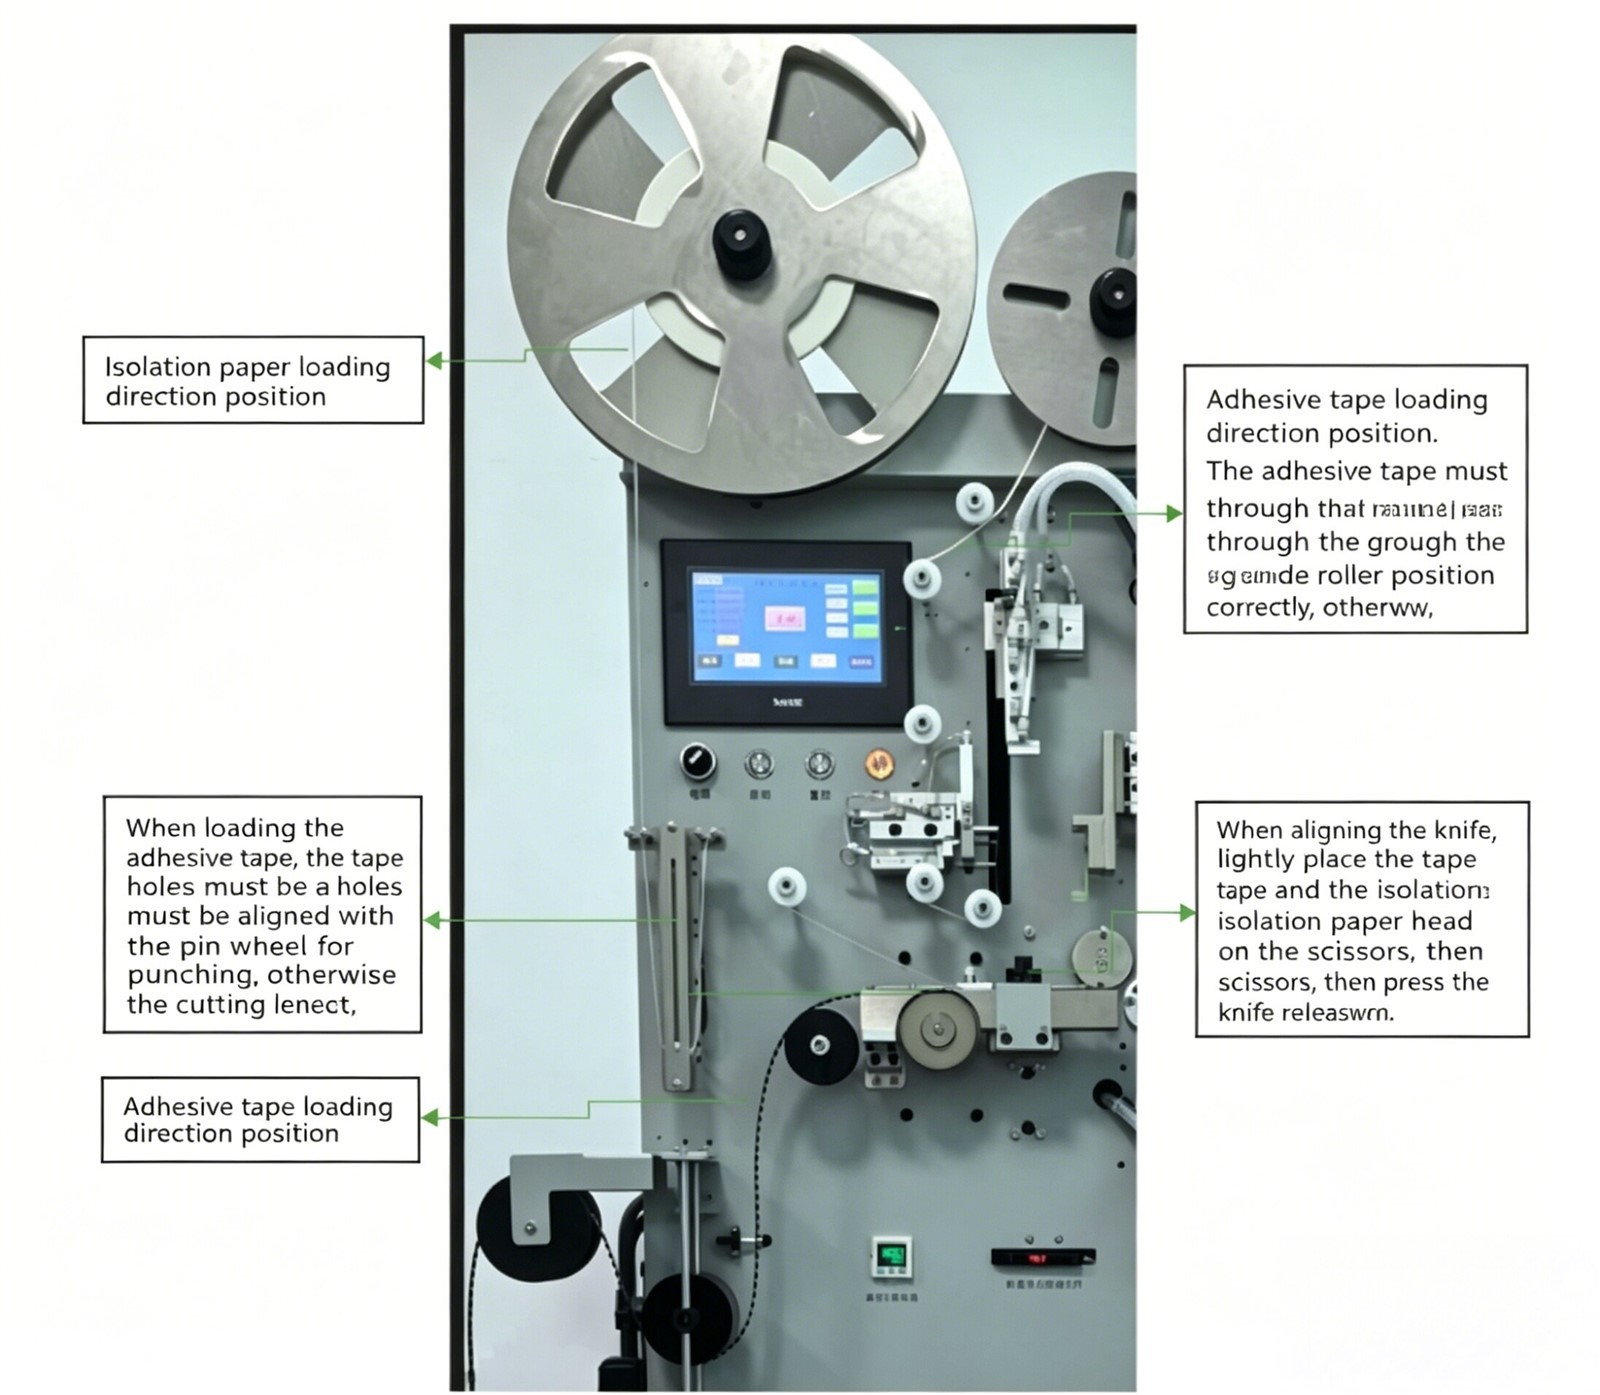
Material Loading & Operation
Schematic Diagram for Threading Release Paper, Tape & Carrier Tape into the Machine
Machine Startup Procedure
- Connect the compressed air supply to the machine, turn on the power switch, and wait for the machine to complete homing.
- Switch the operating mode on the screen from Manual to Auto. For continuous production, switch from Single Roll to Continuous mode. Load the tape and release paper properly.
- Place the empty reel in the correct orientation. Thread the carrier tape from the feed roller through the buffer roller into the feed track, align the sprocket holes with the pins on the sprocket wheel, and feed the carrier tape together with release paper to the position near the cutter.(Products without release paper do not require this step.)
- Press the Cutter Alignment button on the screen. After the cutter extends, gently place the leading ends of the carrier tape and release paper against the cutter and hold steady.Press the Clamp button again to lock the carrier tape and release paper. The start button will flash green.Press the on-screen Start button or the physical Start button, and the machine will begin automatic operation.
Interface Operation Instructions
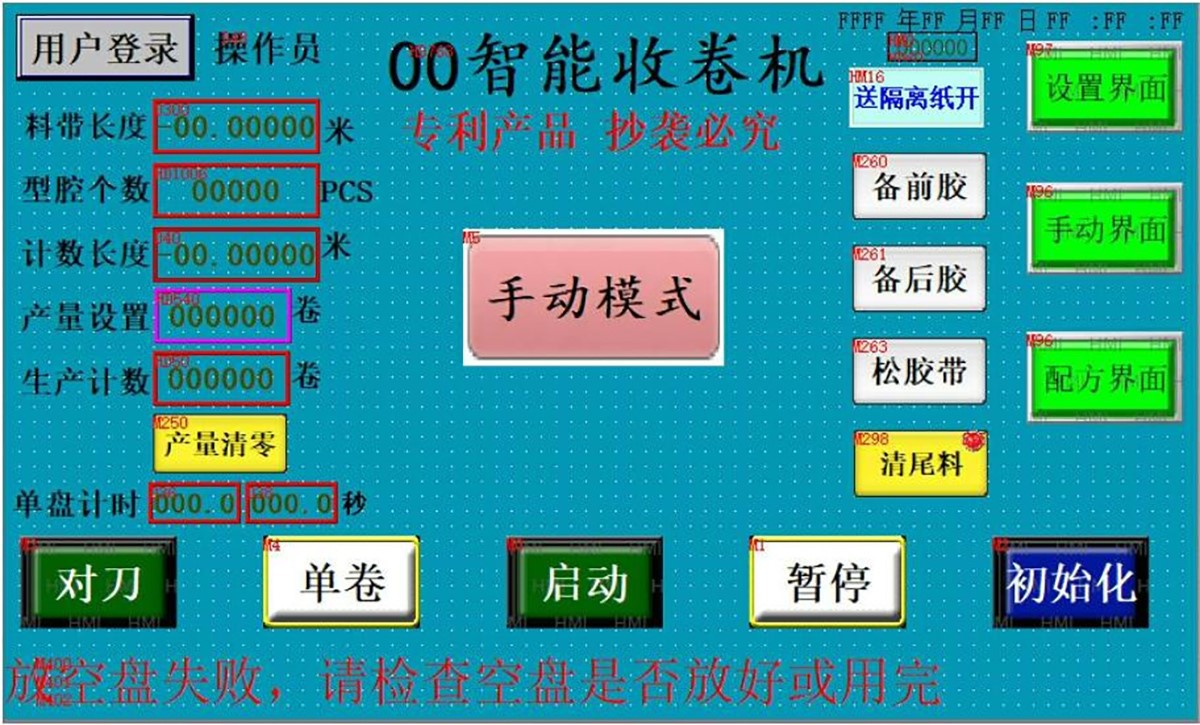
Working Interface:
- Carrier Tape Length: Displays the take-up length of the currently loaded recipe.
- Cavity Quantity: Displays the number of cavities on the carrier tape for the current recipe.
- Counting Length: Displays the counting length of the carrier tape during take-up.
- Production Count: Displays the current production quantity.
- Production Target: Sets the target production quantity. When the production count reaches the set value, the machine will signal completion and enter standby mode.
- Reel Timer: Displays the elapsed time for the current take-up reel; the following value shows the timer for the previous reel.
- Manual / Auto: Switches the machine between manual and automatic operation modes.
- Tool Setting / Tool Release: Tool setting is required before starting the machine.Press Tool Setting; the cutter will close and extend. Thread the carrier tape through the feeding unit, hold the leading ends of the carrier tape and release paper against the cutter, then press Tool Release.The sprocket wheel will lock automatically and the cutter will retract, completing tool setting.(After tool setting in automatic mode, the green light flashes - press Start to begin operation.)
- Single Roll / Continuous: In Single Roll mode, the machine stops in standby after finishing one roll and waits for the next Start command.In Continuous mode, the machine automatically proceeds to the next reel immediately after completing one roll.
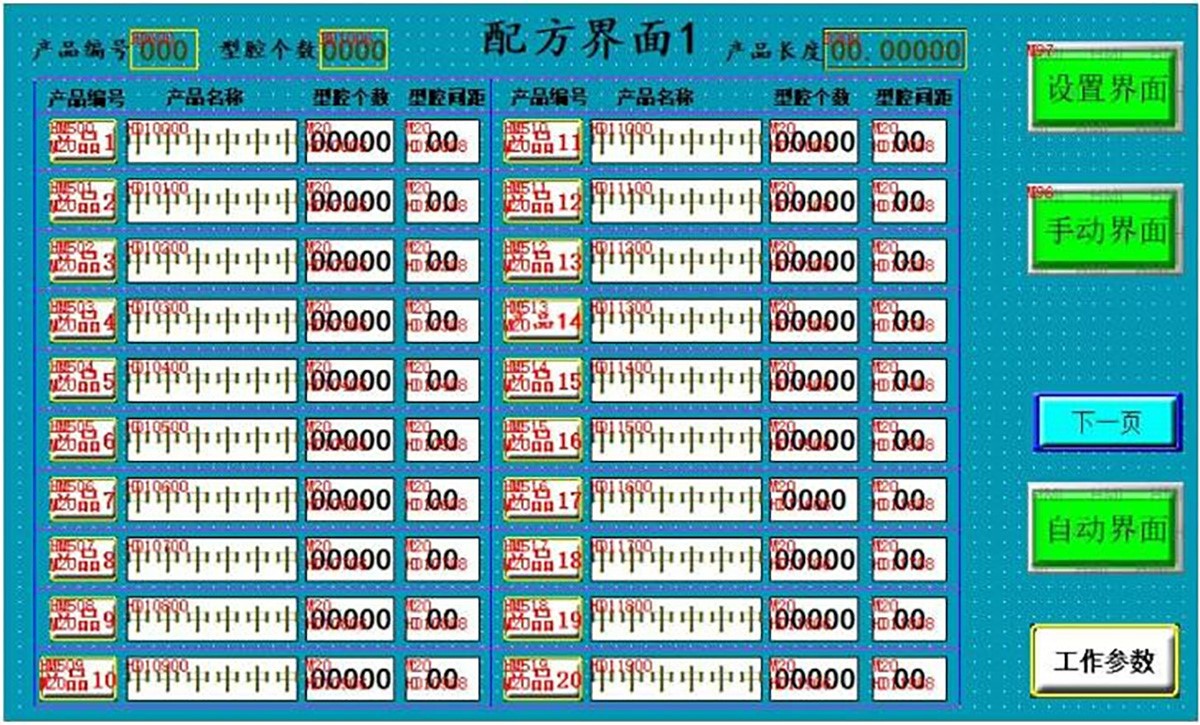
Formula Interface
Interface Operation Instructions
- Product Selection Button: Press to select the product recipe with the corresponding number.When pressing a product button, if the cavity count behind that button is 0, the machine will automatically call the default working parameters.If the selected product has a non-zero cavity count, it is recognized as a previously produced product, and the saved parameters for that product will be loaded directly.
- Product Name: Allows users to set their own product name or part number.
- Working Parameters: Click to open the working parameters window.
Working Parameter Interface
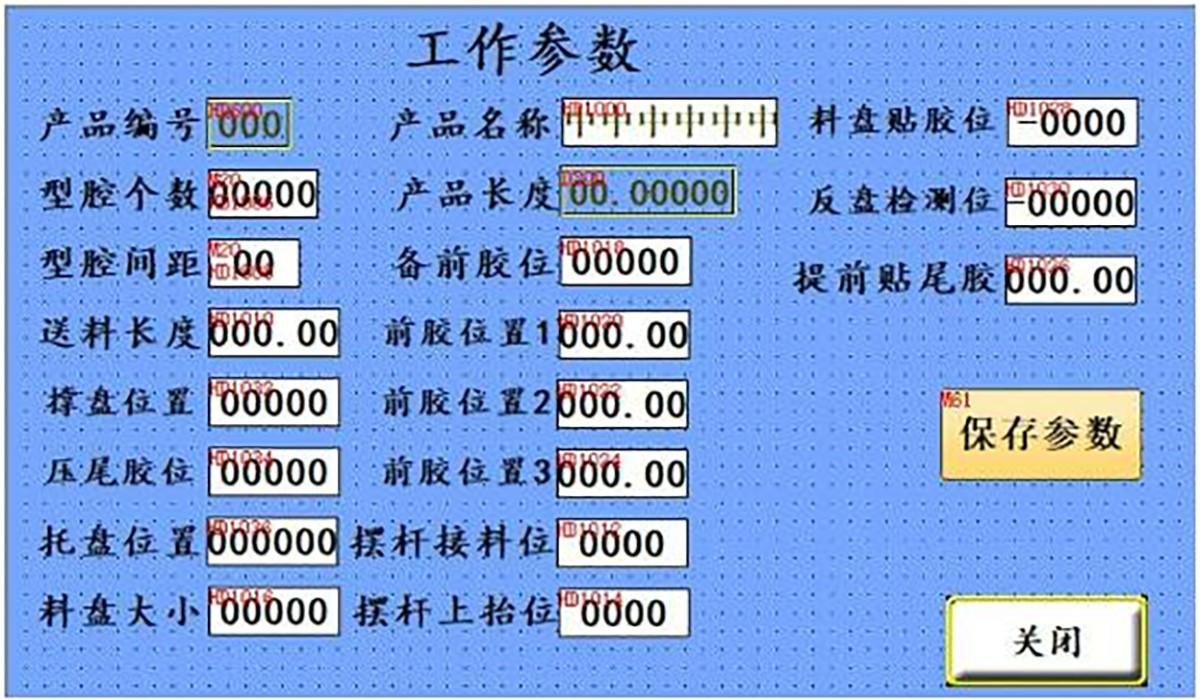
Working Parameters Interface
Shows current product parameters; uses last opened if unsaved.
- Product No./Name: Current product number & customer's product name/part number.
- Cavity Quantity/Pitch: Cavities per reel & spacing (edge holes×4).
- Carrier Tape Length: Auto-calculated (non-editable).
- Feeding/Reel Support/Tail Tape Press/Tray Position: Corresponding settings (tray 0=default by reel size).
- Reel Size: Only 13/14/15 inches.
- Front/Tail Tape, Swing Arm, Reel Taping/Detection: Corresponding positions.
- Save: Long press (>0.5s) to save (auto-loaded next time).
Hot Tags: plastic reel changing machine, China plastic reel changing machine manufacturers, suppliers, factory